Here are some things that I want to make or build. Now I've thought about it and came to the conclusion that I will be making most of my Christimas presents this year. But I can't really tell you which ones because mmmm... well my family and friends will see. So what I'll do is show you a list of things I would like to make/build. Now 1 or 2 them will come in a tutorial but those may/may not be gifts he..he..
So here they are:
So here they are:
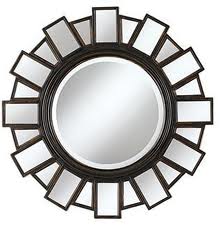
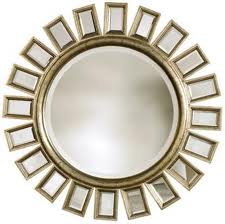
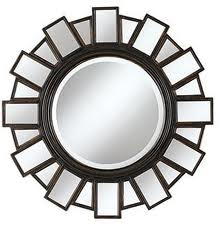
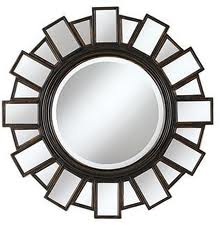
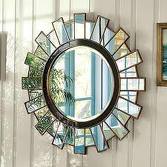
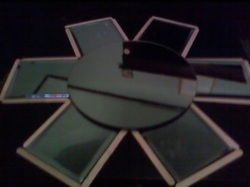
Now for this mirror I have already built or started to build a prototype:
Materials used:
6 Square Mirror tiles from the Dollar Tree
1 Round Mirror (depending on the size you can use one from the DT)
1 Pack of Popsicle sticks
Glue gun and sticks
Paint
Hanging Device
Materials used:
6 Square Mirror tiles from the Dollar Tree
1 Round Mirror (depending on the size you can use one from the DT)
1 Pack of Popsicle sticks
Glue gun and sticks
Paint
Hanging Device
Ok now I have not completed it or glued anything down yet.. But I'm sure its pretty simple. My prototype is alot smaller than the ones they sell in the stores. But you can always buy a bigger round mirror at a craft store.
Steps:
1. Place square mirrors around the round mirror
2. Glue into place
3. Trim square mirrors with popsicle sticks (you may want to paint them 1st) with glue.
4. Attach the round wooden piece with glue (painted 1st)
5. Attach the hanging device.
.........Once I have completed the mirror I will post the after pictures. Have fun making it!......
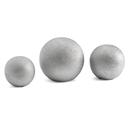
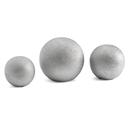
A simple design idea to create these decorative spheres would be to use christmas ornaments. See my blog here.
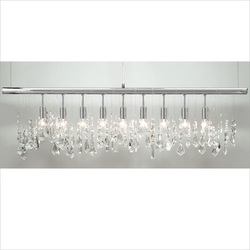
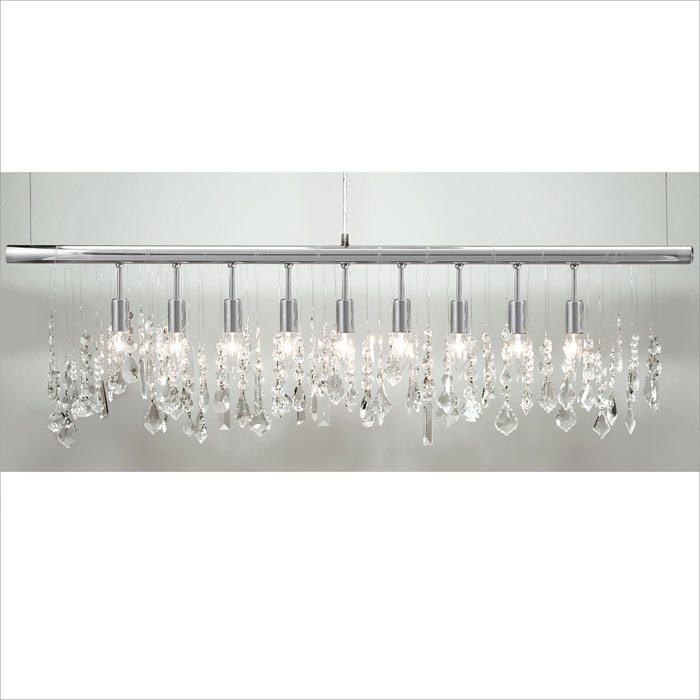
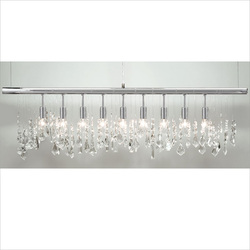
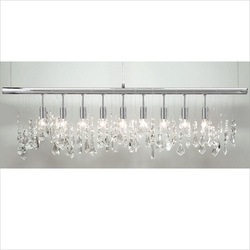
Ok now this light is beautiful right. It comes from Zgallerie and cost $399. Well, I have already told my mom that it was part of her Christmas gift. Sorry Sorry I know I know. But I couldn't resist. Now to make this light is super easy. Although I have started the process I'm not completely finshed with it.
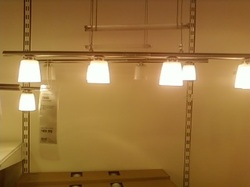
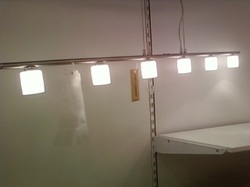
Ikea sells the pendent lights simular to the light one at Zgallerie. They come in 2 sizes one with 4 lights and the other with 6 lights.
The four arm light cost about $59 and the 6 arm light (shown below) cost $79. Now when I visited Ikea last week they marked the 6 arm light down to $49 bucks. WHHHHHoooooo Who... I was so happy.
My mom wants to use it above her mirror in the bathroom. But guess what I found 2 in the As-Is department Ha!! I bought a 3 arm for $12 bucks and a 6 arm for $19. Don't you just love Ikea... Yippeee....
Now there are some differences in the Ikea light vs Zgallerie.
1st Zgallerie finish is chrome. Ikea's light is more brush nickel (not a problem you can always spray paint it).
2nd Ikea has white glass around the bulb. I figure you could opt out of attaching those or spray paint them or just leave them. To make this light will surely be under $70 compared to $399.
Materials:
Ikea light
Glass or glass like jewelry
Fishing wire
Steps:
1. Install Light
2. String jewelry with fishing wire
3. Wrap jewelry around light
and Viola!!
So what do you think. Once I have completed my moms I will update pictures.
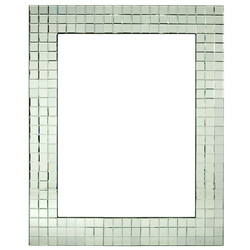
45''W x 52''H
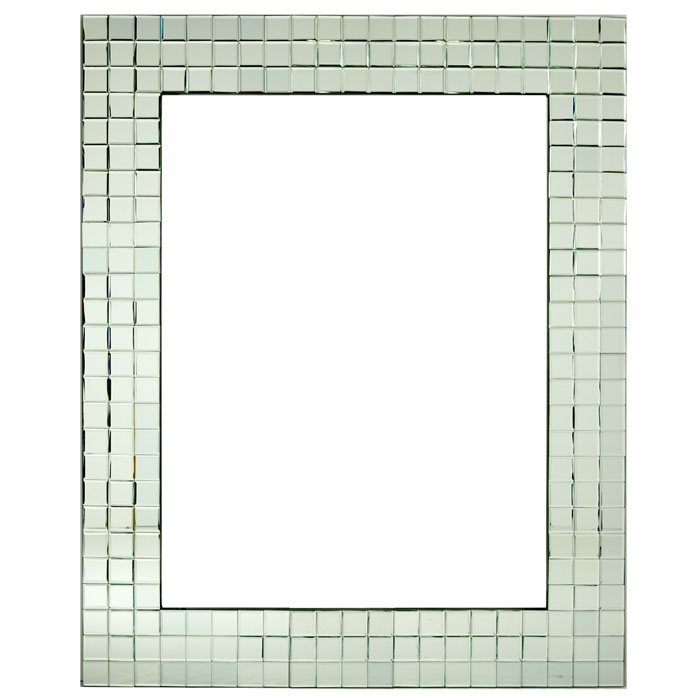
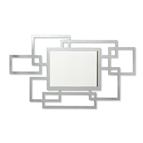
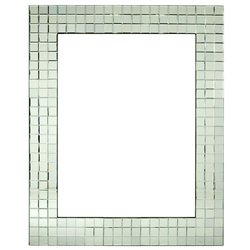
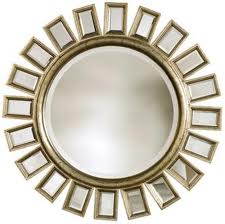
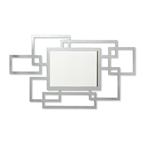
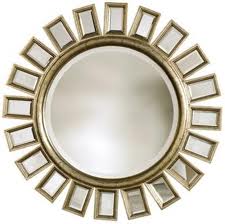
Ok this Michael Mirror comes also comes from Zgallerie for a $350 and 45''W x 52''H. Wow.. Do I even need to explain this one... otay otay... I will.This mirror is quite big. If you want to make one on this scale your square mirror would need to be around 39"x46". Otherwise, you can make a smaller version which is what I'm going to do. Materials:
1 Square Mirror
Several bags of small square mirrors (any craft store)
Glue (hot glue or mirror glue)
Wood backing (cut to the size of your big mirror + 3 small squares on each end*)
Hanging device
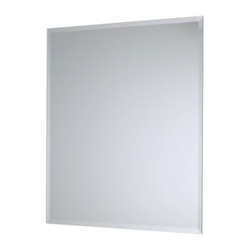
* When cutting the back out of wood it needs to be the size of the mirror including 3 small square tiles. For example: I'm using a mirror from Ikea for $9.99 and 24x24. My smaller square tiles from Hobby Lobby for $2.99 a pack for 1" squares.
The wood is cut at 27"x27". That way the 24x24 mirror and 3 of the 1" smaller mirrors will fit evenly on the wood.
The wood is cut at 27"x27". That way the 24x24 mirror and 3 of the 1" smaller mirrors will fit evenly on the wood.
Steps:
1. Glue the big mirror down 1st
2. Glue smaller mirrors repeating pattern on the Michael Mirror (let dry)
3. Attach hanging device.
1. Glue the big mirror down 1st
2. Glue smaller mirrors repeating pattern on the Michael Mirror (let dry)
3. Attach hanging device.
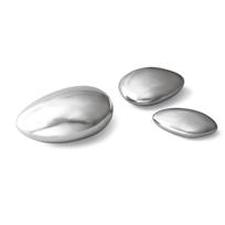
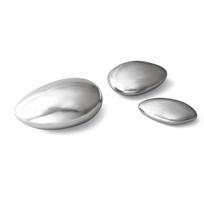
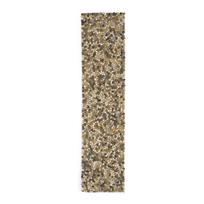
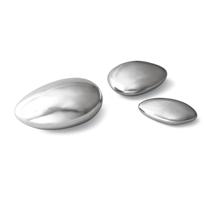
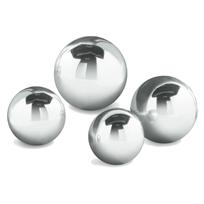
Another simple project. These pepples are exactly sold in stores. You can find these at Chiasso.com ranging from $18-$38.
To Too easy. Purchase a bag of pepples from the Dollar Tree and Silver spray paint.
Steps: do i have to....
Ok spray the pepples and let dry... Done!! Lala...
To Too easy. Purchase a bag of pepples from the Dollar Tree and Silver spray paint.
Steps: do i have to....
Ok spray the pepples and let dry... Done!! Lala...
So these are some of the ideas that are running through my head which I want to make as Christmas presents. Did you see any that you liked or will try to make?



No comments:
Post a Comment